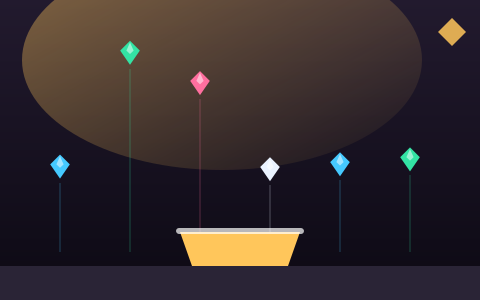
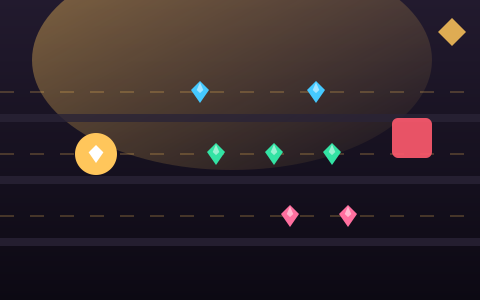
Every game on this site has obstacles. What defines this category is that the obstacles are the point. Gems are placed exactly where the hazards make them awkward, and the whole design question becomes: how much risk is this gem worth?
That only works if hazards are honest. A cutter spins visibly, a beam blinks on a fixed rhythm with a warning before it fires, a drone patrols a route you can watch for a cycle. Nothing in this category appears without telegraphing, and nothing kills you from off-screen. When a run ends here, it ended because you misread something that was on screen.
This is also the category where the shield power-up changes the most. In a collection game where every point of interest is guarded, one absorbed hit is often the difference between a forty-second run and a three-minute one.
What defines this category
- Dodging, timing and reading telegraphed hazards
- Gems placed deliberately close to danger
- Moving obstacles with learnable cycles
- Reflex pressure without unfair surprises
How these games work
The hazard vocabulary
We use one consistent set of hazard silhouettes across all thirty games so a threat is identifiable in a fraction of a second. Spikes are static triangles. Cutters are spinning stars. Beams are capsules between two emitters that blink on a cycle. Drones are circles with a moving eye. Boulders are rough polygons that tumble. Crushers are toothed blocks that move along one axis. Learn the six shapes once and you can read any game here on your first run.
Telegraphing and reaction windows
A hazard that appears with no warning is not difficult, it is random. Our beams blink on a fixed period with a visible warning phase before they fire, patrolling hazards travel a fixed range so you can watch one cycle, and nothing spawns closer than the screen edge. The reaction window narrows as difficulty rises, but it never drops below roughly a third of a second — the point where reacting stops being a skill and starts being a coin flip.
Risk gems: the category's central decision
Risk gems are drawn with a pulsing red ring and are always worth substantially more than the gems around them. They are placed in the one spot a hazard makes uncomfortable — above a saw, inside a beam gap, across a pit. The ring is there so the trade is explicit rather than a trap. Whether you take them should depend on your current streak: with nothing banked, the downside is small.
Near misses and collision forgiveness
Every deadly collision here is tested against a slightly inset hitbox — a few pixels smaller than the visual. That inset is why a run that looks like it should have ended sometimes continues. It exists because a collection game constantly asks you to move toward danger, and a pixel-exact hitbox in that context makes the game feel arbitrary rather than tight.
Why hazard density is capped
Hazard chance rises with the difficulty curve but is capped below one, and the spawning logic always leaves at least one safe route through every wave. A wall of hazards with no gap is not an obstacle, it is an ending, and a game that eventually generates one is a game that eventually stops being fair.
Tips that work across the category
- Watch one full cycle of a patrolling hazard before you commit. One cycle costs you a second; a bad guess costs you the run.
- Cross behind a moving hazard, not in front of it. Behind, its motion carries it away from you; in front, you are racing it.
- Beams have a rhythm. Count it rather than reacting to it — your timing will be far more consistent.
- Save the shield for the section you know you find hardest, not the first hazard you meet.
- If a gem is inside a hazard's path with no gap, it is not meant to be taken on this pass. Come back or let it go.
Frequently asked questions about Obstacle Gem Games
Do obstacles ever appear without warning?
No. Everything spawns off the edge of the play area and travels into view, and every timed hazard telegraphs before it becomes deadly. If something killed you, it was visible first.
What does the shield actually protect against?
One collision with any deadly hazard. It absorbs the hit, keeps your collection streak intact, and gives you a short window of invulnerability so you are not hit again immediately.
Why do some gems have a red ring around them?
That marks a risk gem — worth several times an ordinary gem, and deliberately placed where a hazard makes it awkward. The ring is a warning, not a trap; the reward is real.
Are these games too hard for beginners?
Some are. Sky Gem Collector and Crystal Factory sit at the easy end and are a fair introduction. Ultimate Gem Challenge and Gem Jump Challenge are expert tier and are not where anyone should start.